What is Microsoft Teams?
Microsoft Teams is an online meeting application. Using which you can conduct meetings anywhere in the world or conduct online classes. And can work together on any project.
Microsoft Teams gives you a limit of 250 participants. From anywhere in the world, you can work on a project together at one time or take classes.
In this article, we will know how to use Microsoft Teams? And what things are needed before the staring.
How to use Microsoft Teams for teaching?
There are two ways to use Microsoft Teams.
(1) By using a computer or laptop browser.
(2) By using Microsoft Teams software.
We will try both methods. But here, tell you that there is no difference between both methods.
You do not need to login on daily bases software.
Let’s start.
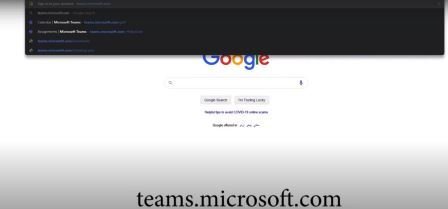
Step-1 First of all in the address bar of the browser of your computer or laptop. Typeteams.microsoft.com and then click on Enter.
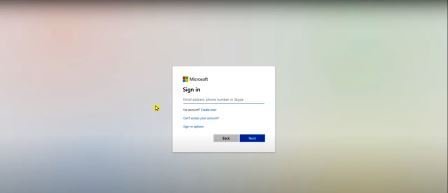
Step-2 Sign-in option will come after clicking on enter.
Note – To use Microsoft Teams you must have the id of Microsoft Office 365.
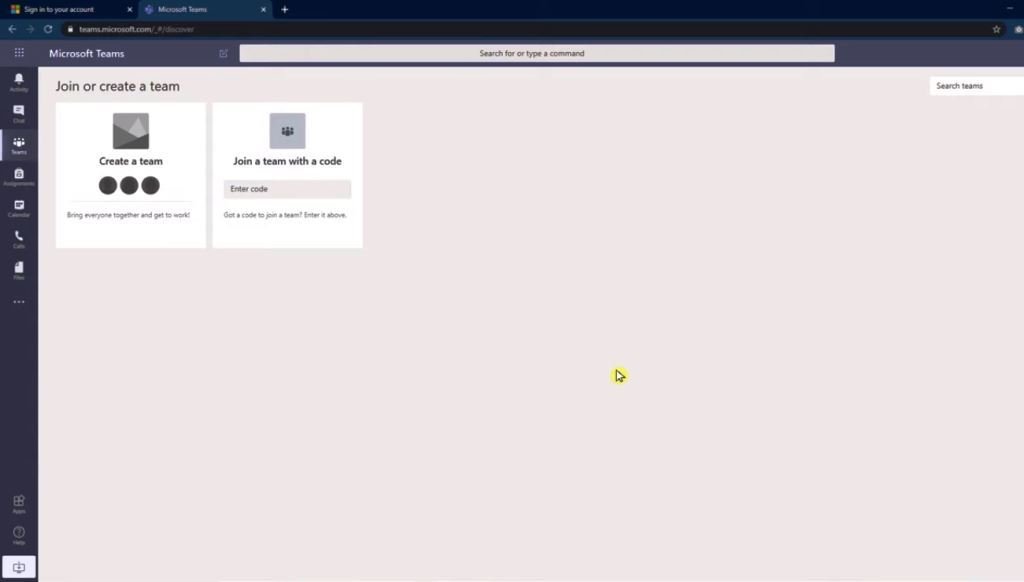
Step-3 After login, you will get this kind of user interface.
This user interface will be some icons and tabs
Let’s know about userinterface of Microsoft Teams before moving ahead.
1. Activity
– In the Activity tab, we can see whatever activity is happening as if the file is shared.
2. Chat
– By clicking on the chat option, you can have a conversation with other participants. Like Google Meat and Google Classroom do in applications.
3. Teams
– With the Teams option, we can create a new team or enter the code in another team.
4. Assignment
– When you create a class in assignment options, then you can share the assignment.
5. Calendar
– Click factor on this option, you can manage the time table of your class or schedule an event.
6. Calls
– You can call any other participant of the call option.
7. Files
– Using the files option, you can share files such as audio, video, pdf, image, any other file, study material.
8. Apps
– Apps show at the bottom of the Microsoft Teams’ user interface. Microsoft Teams provides us with many apps. Because this software comes in Pyrog for a lot of purposes. From here you can install additional apps.
9. Download
– With the download option, you can download Microsoft Teams software and install it on your computer or laptop.
Dedicating Software
– By using this you do not have to sign in again and again, software-based Microsoft teams is faster in comparison to browser-based.
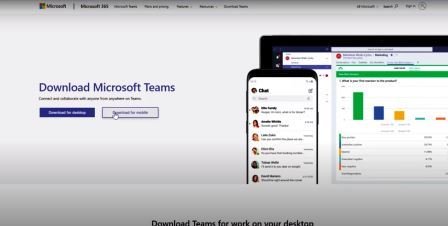
To download the Microsoft Teams computer application, you have to search in the browser, click on Download Microsoft Teams and First option.
Two buttons are available to download Microsoft Teams.
- Download for desktop
- Download for mobile
You have to click on Download for Desktop.
Install the desktop application after download it.
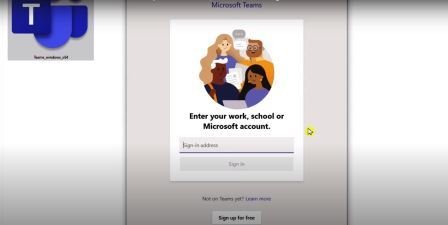
After the application is installed, there is an option to sign in, write the email id and sign in it.
How to create teams or classes in Microsoft Teams?
Step-1 Clicking on teams two options will show.
First – Create a Team
Second – Join Team with a code.
Step 2- Here you have to click on the CREATE TEAM button.
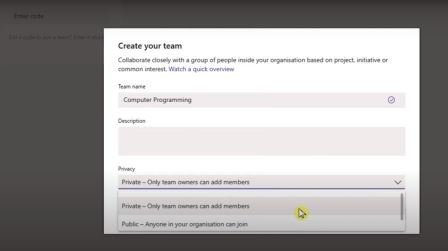
Step 3 – After clicking, a new popup window will open called Create Your Team
Note- This window contains the team name, description, and privacy options.
Step 4- Write the name of the class in team name like B.Com,
In the description, you can write anything for that class like what will be the topic of the class, what will be the rules.
The privacy option has two options.
1 Private – Only Team Owners Can Add Members
2 public – anyone in your organization can join.
Note – Teams that are creating with private option can add students or members.In the public option, anyone can add a student or team member from your organization.
Step 5 – After selecting all the details and options above, clicking on Next creates the team.
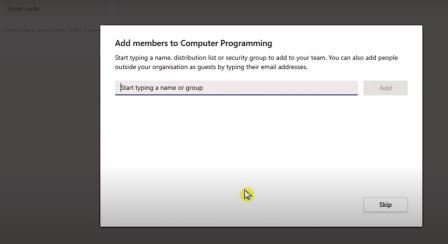
Step 6- After that you can add members or students. Students’ Email Id can be used to add.
How to schedule meeting in Microsoft teams?
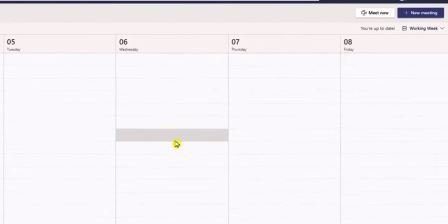
Step 1 – First click on Microsoft Team Calendar
Step 2- In the calendar, you will see two options.
1 meat now
2 new meetings
Note- Meat Now is used for Instant Meeting. With the new meeting, we can schedule the meeting.
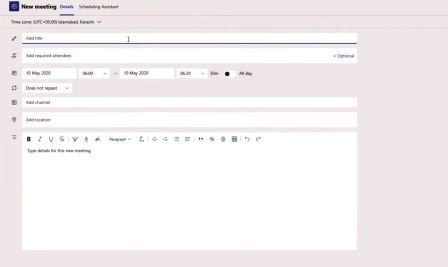
Step3- After clicking on the new meeting, such an interface will appear.
First you have to write the title, in the title you can write the topic of the meeting.
second option, you can write the email ID of the attendees, this is optional, you can use this option whenever you have to meet with specific members or students.
in the third option, Set date and time. Set the details of the day and time you want to schedule the meeting.
In the fourth option you can set the meeting to be Daily, Weekly, Monthly.
In the fifth option, you have to select the channel, here the channel means classes and teams.
If you want to give a location in the sixth option, you can give it.
Seventh option is the last option, you can write brief description in it. What will be the agenda of the meeting, which topic will be covered in the meeting etc.
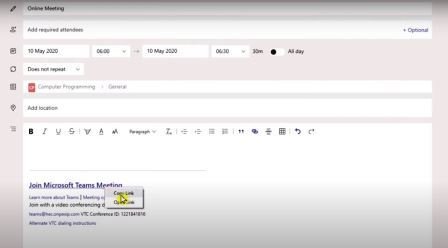
After that, click on send.
After this the meeting will be alerted in the calendar and by right clicking on it you can see the meeting code or copy the link and share it.
How to Generate Meeting Code in Microsoft Teams?
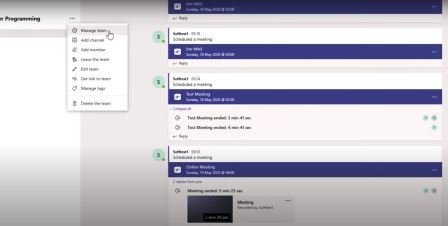
- Right-click on class.
- then click on the Manage Team option
- then click on Settings and enter.
- After clicking on setting tab, then click on the team code.
- Click on Generate code button, code will show.
If you liked this post so please share it and also if you have any suggestions or questions about this post, then you must comment us.




Best view i have ever seen !